What it Does
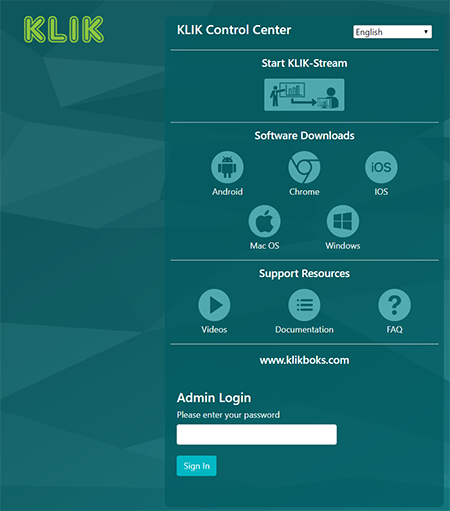
The KLIK Control Center (KCC) plays two important roles for users and administrators of the KLIK Stik. First, it’s the user’s home page for access to KLIK software and support, as well as the KLIKStream feature. It also serves as the setup and configuration portal for administrators to make changes to the KLIK Stik configuration.
Accessing the KCC
The KLIK Control Center is accessible to all users connected to the same network as the KLIK Stik, by merely entering the IP address shown on the Standby screen into a browser’s address bar.
Language Selection
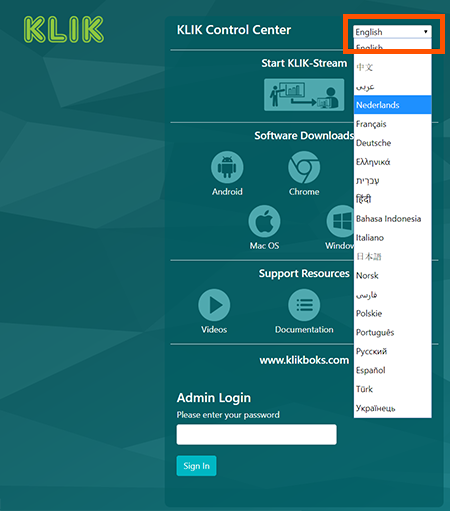
The KCC interface is multi-lingual and allows users to change the displayed language as needed. This language change applies only to the one user, and does not change the displayed language on the standby screens or anywhere else.
KLIKStream
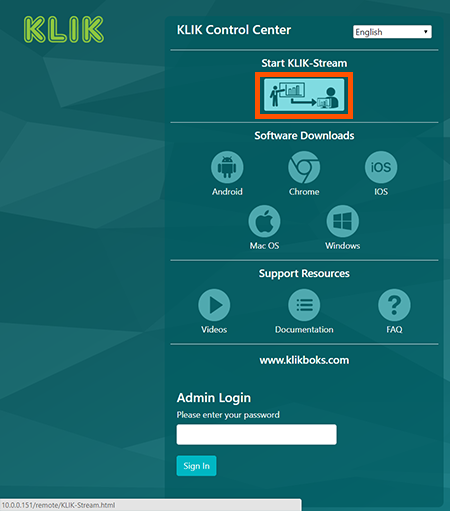
The KLIKStream feature allows meeting attendees to view the presentation inside their own browser, and capture screen shots for later review. To start KLIKStream, click (or tap) on the KLIKStream button at the top of the page.
KLIK Software Apps
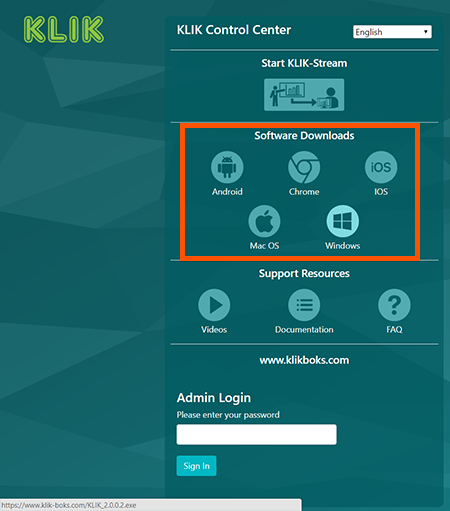
Users may download the KLIK app for their device by operating system, from the application shortcuts on the KCC. Mac and Windows users can download the apps directly, while Android, Chrome and iOS users are directed to their respective app stores.
Help Center
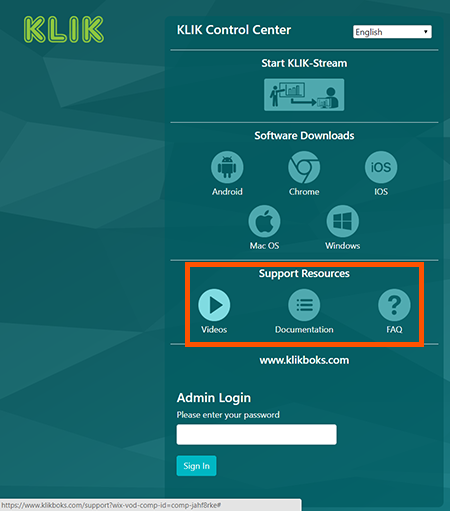
The KCC includes links to various support resources, including videos, printed documentation and the KLIK Knowledge Base.
Admin Login
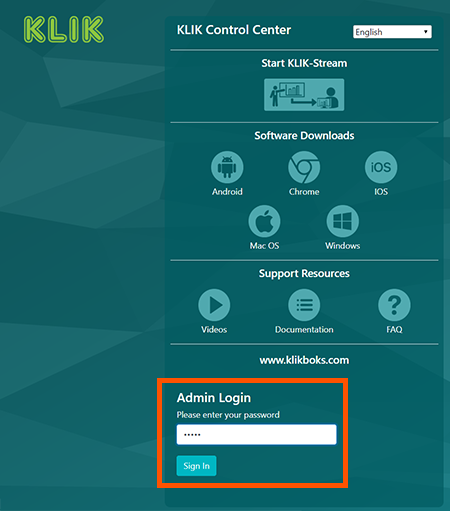
Administrators may log in to the setup pages of the KLIK Stik in order to make changes to its configuration. To log into the KLIK Stik Setup pages, simply enter the admin password and click on the Sign In button.
Setup Home Page
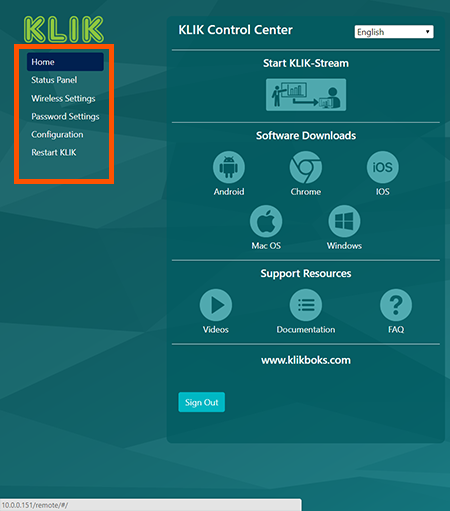
Once logged in to the Setup pages, the KCC presents the setup menu on the left side of the screen. The Home tab continues to display the KCC page, while other tabs will display additional pages.
Status Panel
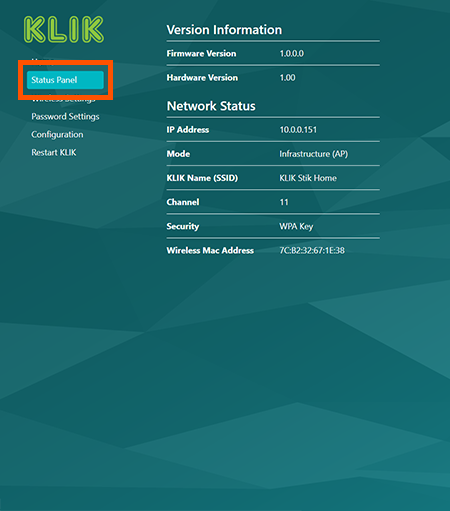
This is where you’ll find vital information about your KLIK Stik and its configuration, like the firmware version that’s currently installed and how the network connection is configured. If a new firmware version is available, a prompt will offer the option to download and install it.
Wireless Settings
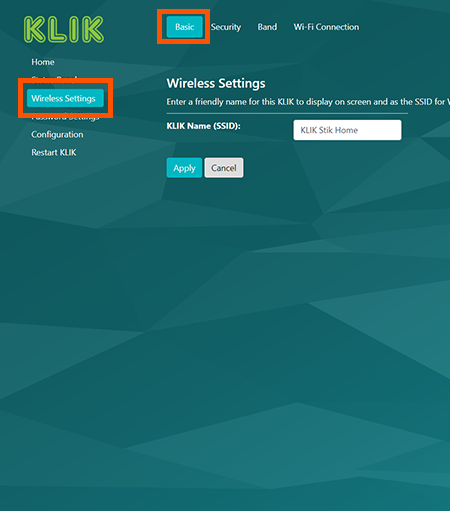
This page has 4 tabs across the top; Basic, Security, Band and Wi-Fi Connection. Before we cover them in detail, it’s important to understand how KLIK Stik uses Wi-Fi. On first power-up, KLIK Stik sends out a Wi-Fi signal announcing its name (SSID). We call this “soft AP mode”, because KLIK Stik is acting as a software Access Point, allowing a user to connect directly, using their device’s Wi-Fi. This is generally done only for setup, although it can also be used for direct connections where there is no other Wi-Fi to connect to.
Basic Tab
Here you’ll find the KLIK Name (SSID) field, where you can change the name of the KLIK Stik as it is seen on the standby screen and across the network. This also changes the Wi-Fi name (SSID) that is radiated when KLIK Stik is not connected to the network. A name change requires a device restart.
Security Tab
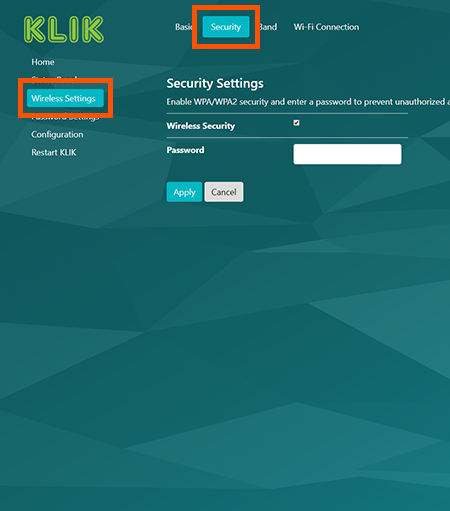
This is where you can activate WPA/WPA2 security for the KLIK Stik soft AP connection. By default, security is disabled, making it easy to connect with and configure the KLIK Stik for the first time. Security only needs to be enabled if the KLIK Stik will not be connected to a network. For most applications it can be left disabled.
Band Tab
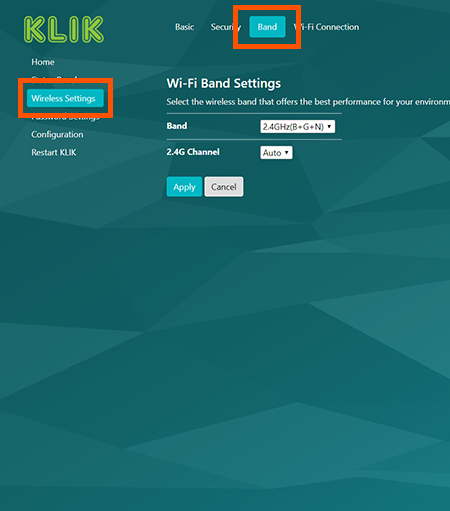
This is where you can change the active (or preferred) wireless band and channel that the KLIK Stik will operate on. This applies only if users will be connecting directly with KLIK Stik in soft AP mode. It does not apply to how KLIK Stik connects to an existing Wi-Fi network; those settings are determined on the network side, and KLIK Stik simply adopts them.
Wi-Fi Connection
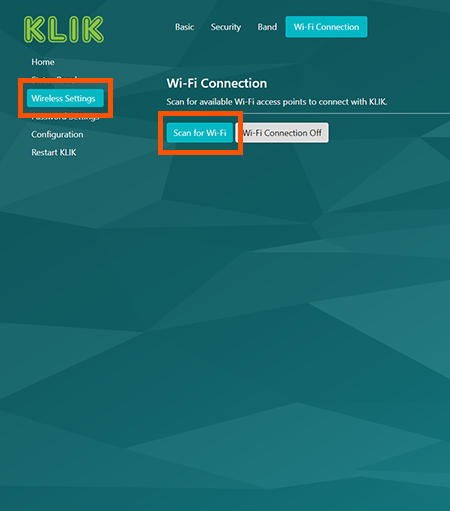
This is where you can connect KLIK Stik to the Wi-Fi network of your choice. Click on Scan for Wi-Fi to search for and display available Wi-Fi access points and their relative signal strengths. Note that KLIK Stik streaming performance is directly related to Wi-Fi signal strength, so select the access point offering the strongest signal, or consider moving the KLIK Stik or access point closer.
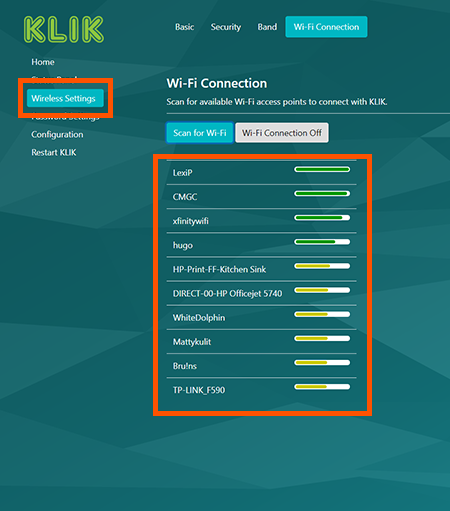
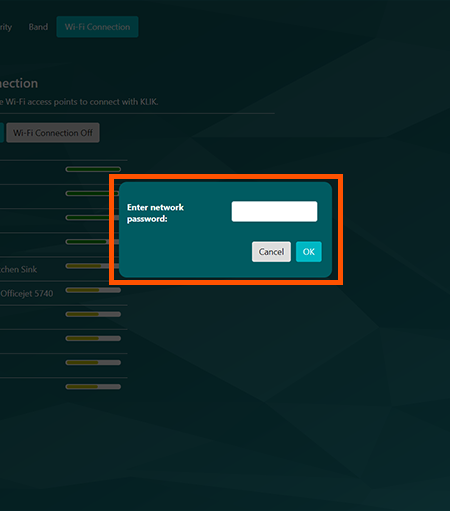
Select the access point and enter the password; refer to your user manual or system administrator for network connection password if needed. Click OK, to apply the settings and connect KLIK Stik to the wireless network. KLIK Stik will connect to the selected network, and the network name will be displayed on the Standby screen.
Password Settings
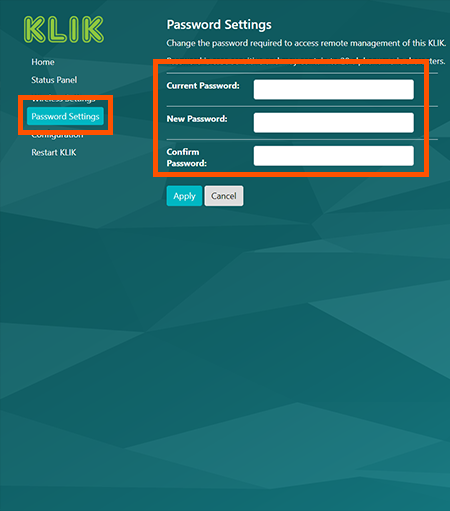
This is where you can change the administrator’s password, for access top the Setup pages. By default, the password is admin. To change the password, enter the current password, then the new password, and again to confirm it. Click apply to set the new password. Note that this sets only the admin password; user passwords are set automatically by the KLIK Stik, and the Moderator password is set from the Moderator console.
Configuration
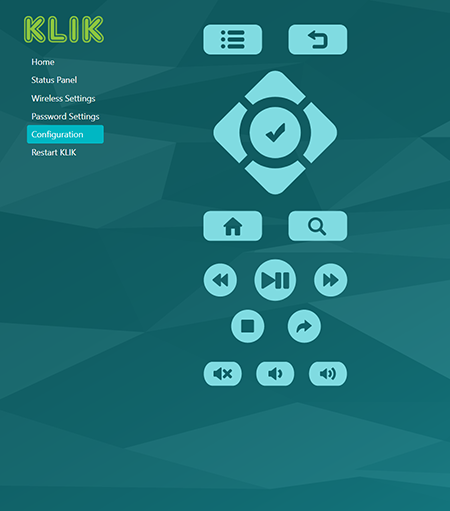
The Configuration page offers a software remote control that allows access to two main functions; Media Player control and Advanced System Settings. The navigation controls consist of four arrow buttons around a select button, and a back button in the top right-hand of the control. Media player control is accomplished through use of these navigation controls and the transport controls in the bottom half of the remote.
Media Player
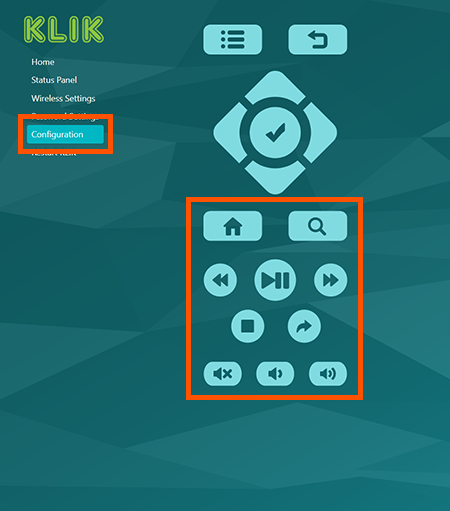
The Media Player is automatically activated when a USB flash drive is inserted into the KLIK Stik USB accessory cable.
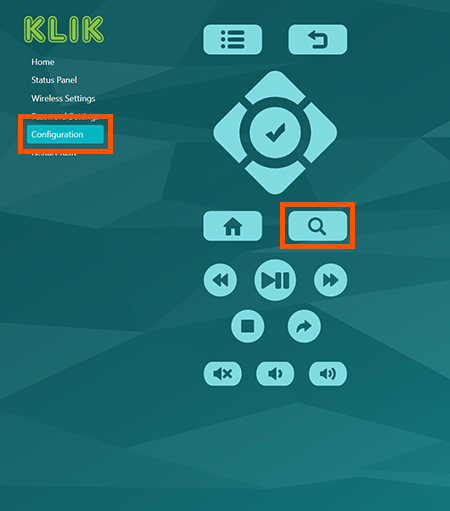
It can also be activated at any time by pressing the Search button. Once activated.
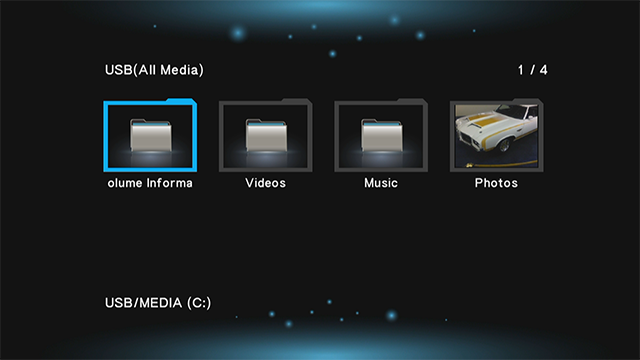
The KLIK Stik Standby screen will switch to Media Player mode and will display the contents of the USB flash drive. Use the navigation controls to select the media you want to play, then use the transport controls to Play, Pause and search.
Advanced Settings
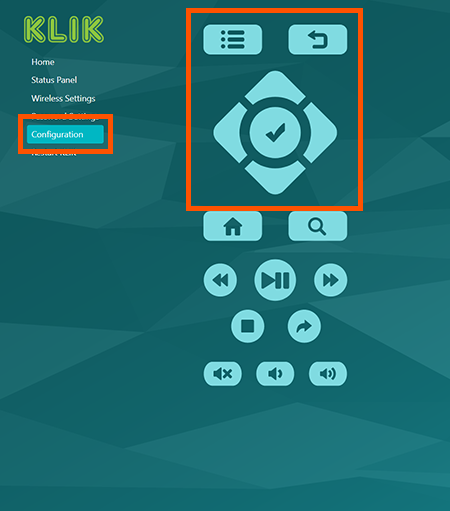
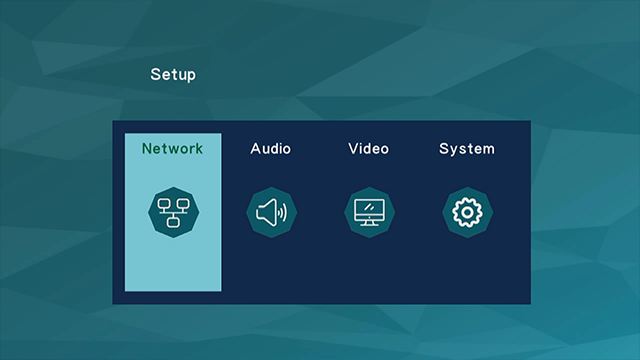
In most cases, there is no need to access any of the advanced settings found in the OSD Setup menu. If however you require access to these settings, they may be accessed by clicking on the Settings button in the top left corner of the control screen.
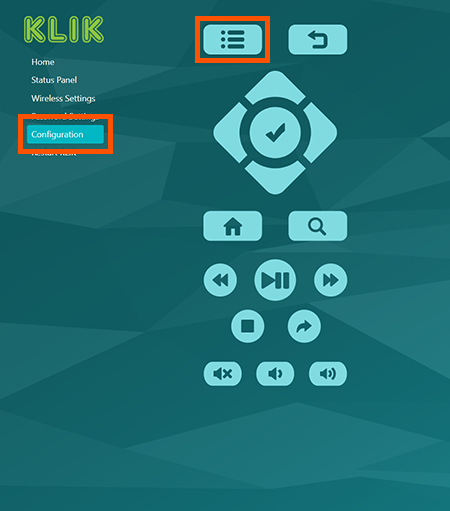
This will change the Standby screen to the OSD Setup screen, where the advanced settings are found. Use the navigation buttons to select and change settings as directed by a KLIK support agent, then use the Back button to exit OSD Setup and return to the Standby screen. Find out more about OSD by visiting the web page.

Comments
0 comments
Please sign in to leave a comment.