This article will guide you through the one-time pairing procedure that enables connection of a KLIK Knkt HDMI Sender (KB400) to the KLIK Stik, PLUS and PRO models. For instructions on connecting the KB400 to a KLIKBoks HUB, please see the KLIKBoks HUB Setup article.
Models covered in this article:
Preparing for Pairing Procedure
- Ensure the target device (Stik, PLUS or PRO) is completely set up and configured before beginning the pairing process. Setup may be completed by either:
- Gather the Wi-Fi credentials (SSID & Password) if the target device is connected to Wi-Fi.
- Connect the KB400 to a video source using the supplied HDMI cable and connect supplied USB cable to suitable power source.
- Confirm that the KB400 LED is flashing Red.
Starting the Pairing Procedure
- Ensure your device (PC, Tablet or Smartphone) is connected to the same network as the target KLIK device, or if the KLIK is not connected to the network, connect Wi-Fi directly to the displayed network.

- Using a PC, Tablet or Smartphone, open a browser tab and enter the IP address shown on the KLIK screen. Note, if the KLIK device is connected to a network, your device must also be connected to the same network.

- Enter the admin password (default is admin) when the KLIK Control Center page loads. Note that the password field may be in the top menu bar or below the text area depending on your screen configuration.
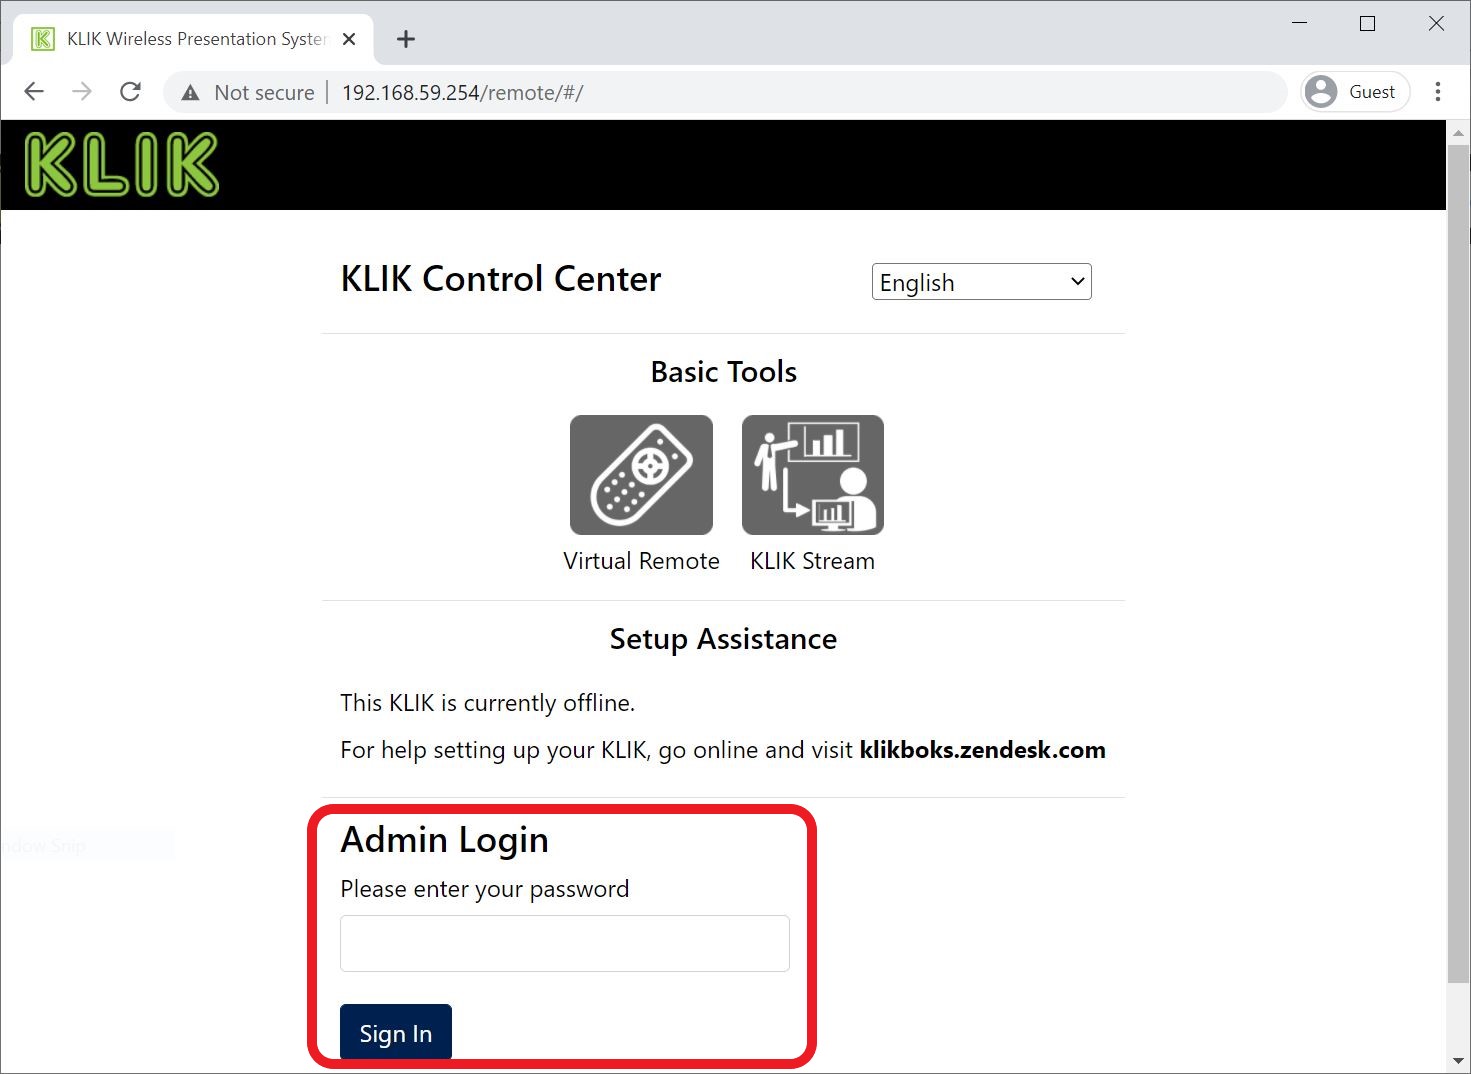
- Once logged in to the KLIK Control Center the menu will be enabled. Note that the menu may appear across the top toolbar or collapsed in the top right corner, depending on the screen size and orientation of your device.
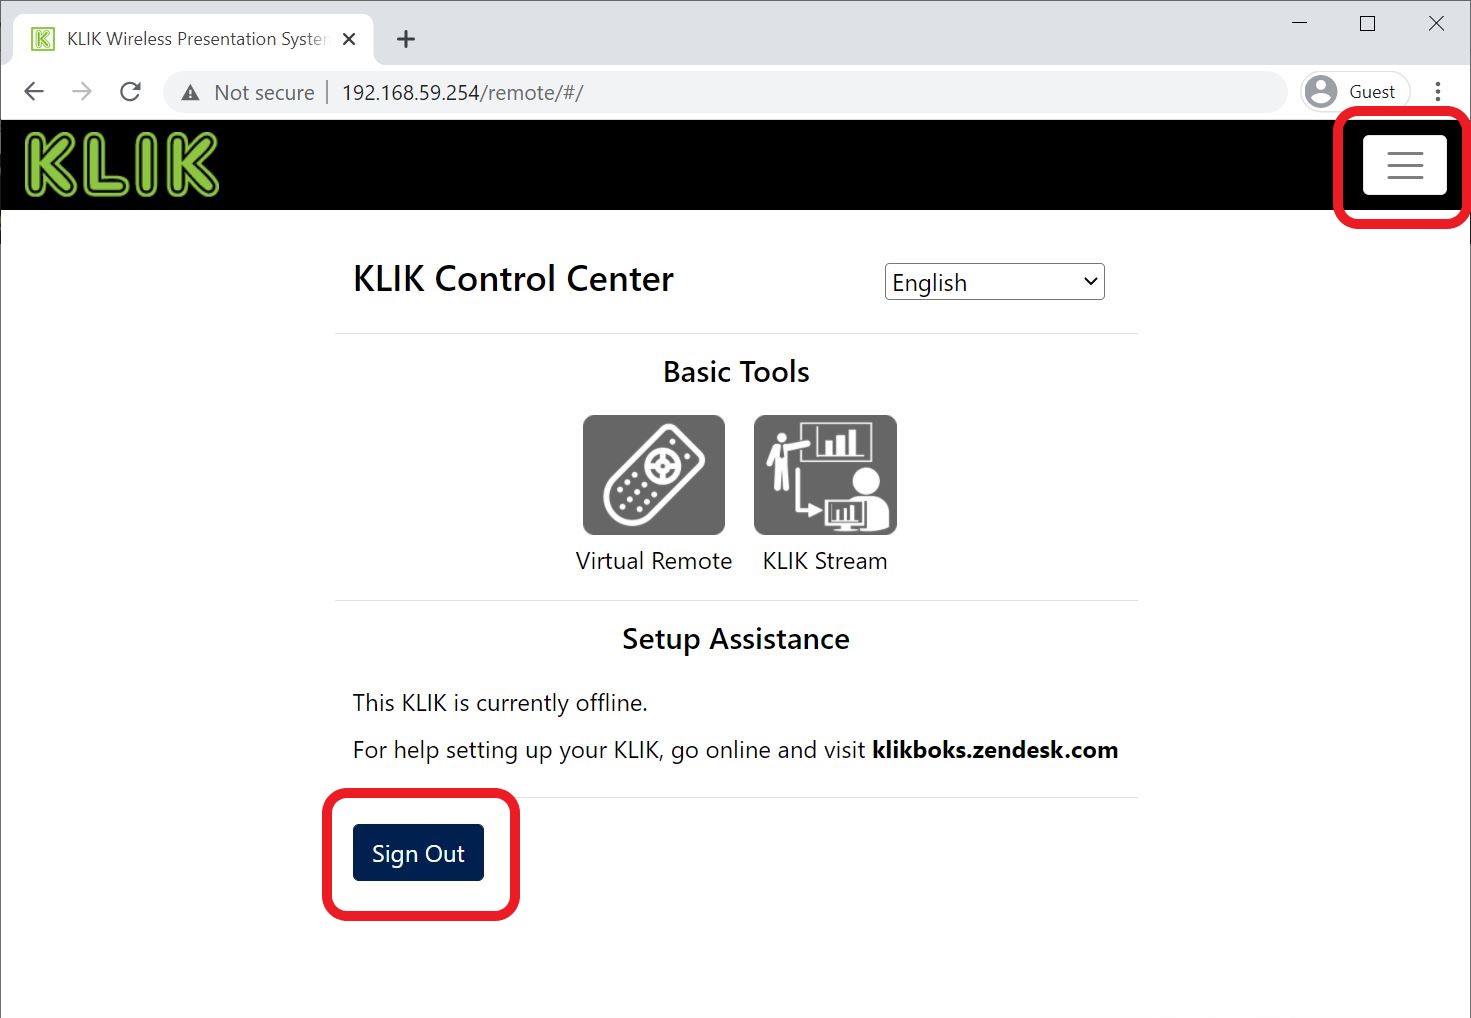
- From the KLIK Control Center menu, select Configuration to open the Remote Configuration Page.
- The Remote Configuration page contains the virtual remote control that will be used to access and select the pairing configuration from the on-screen display (OSD).
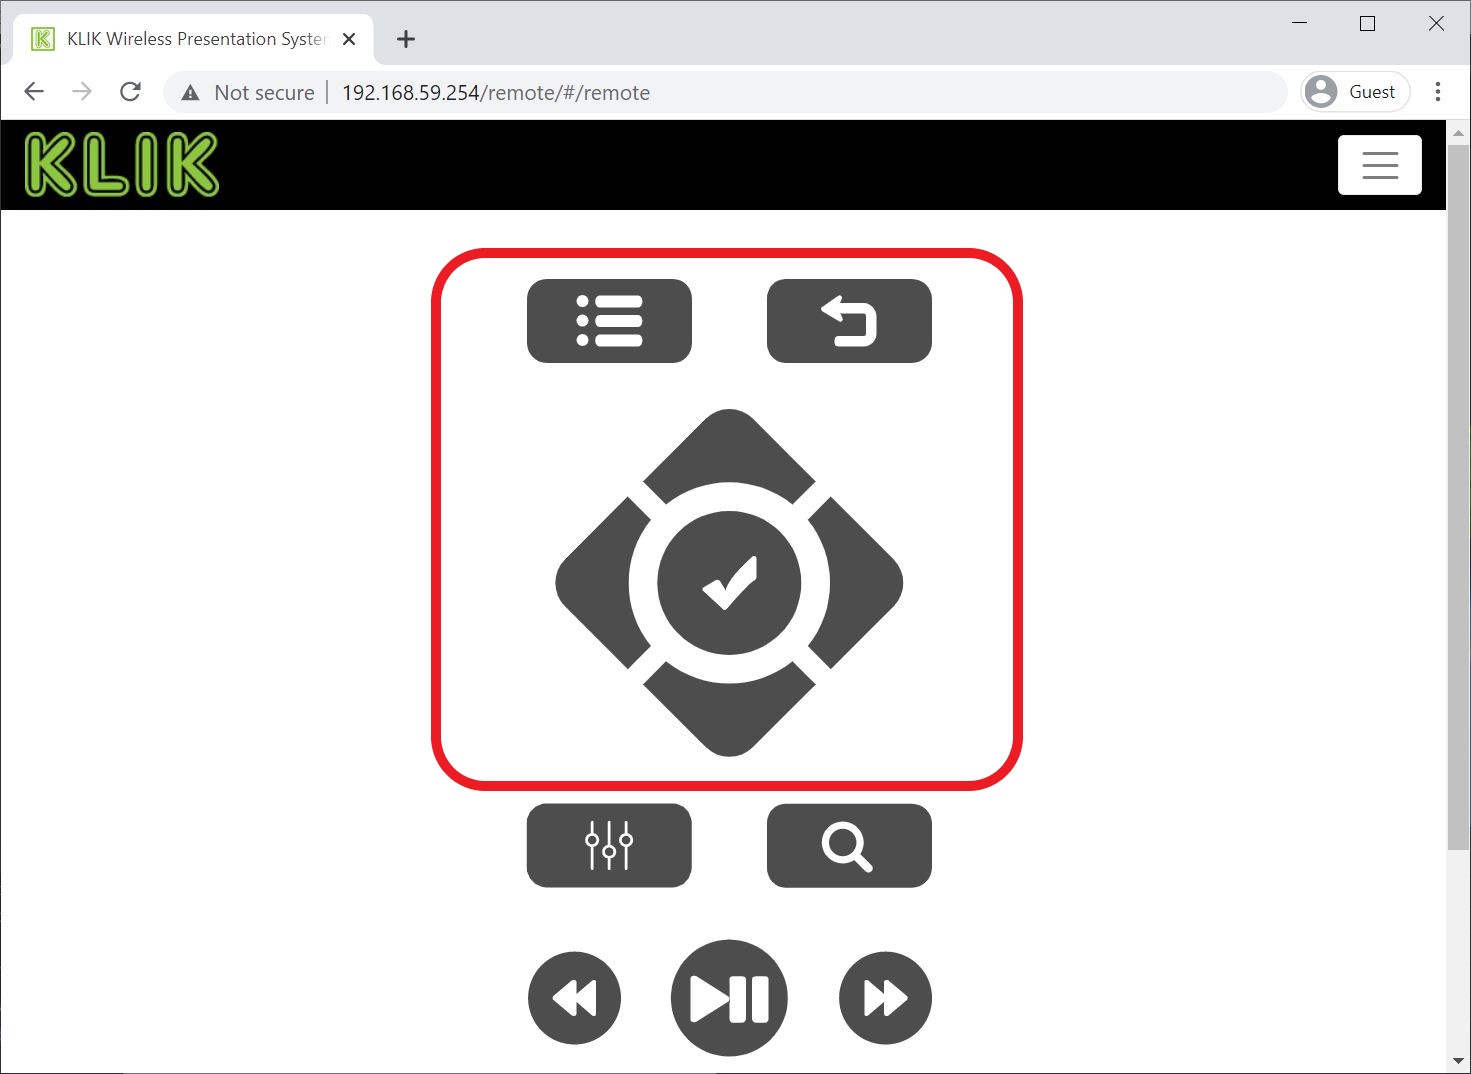
- Click on the Settings icon to enter the setup screen on the KLIK.
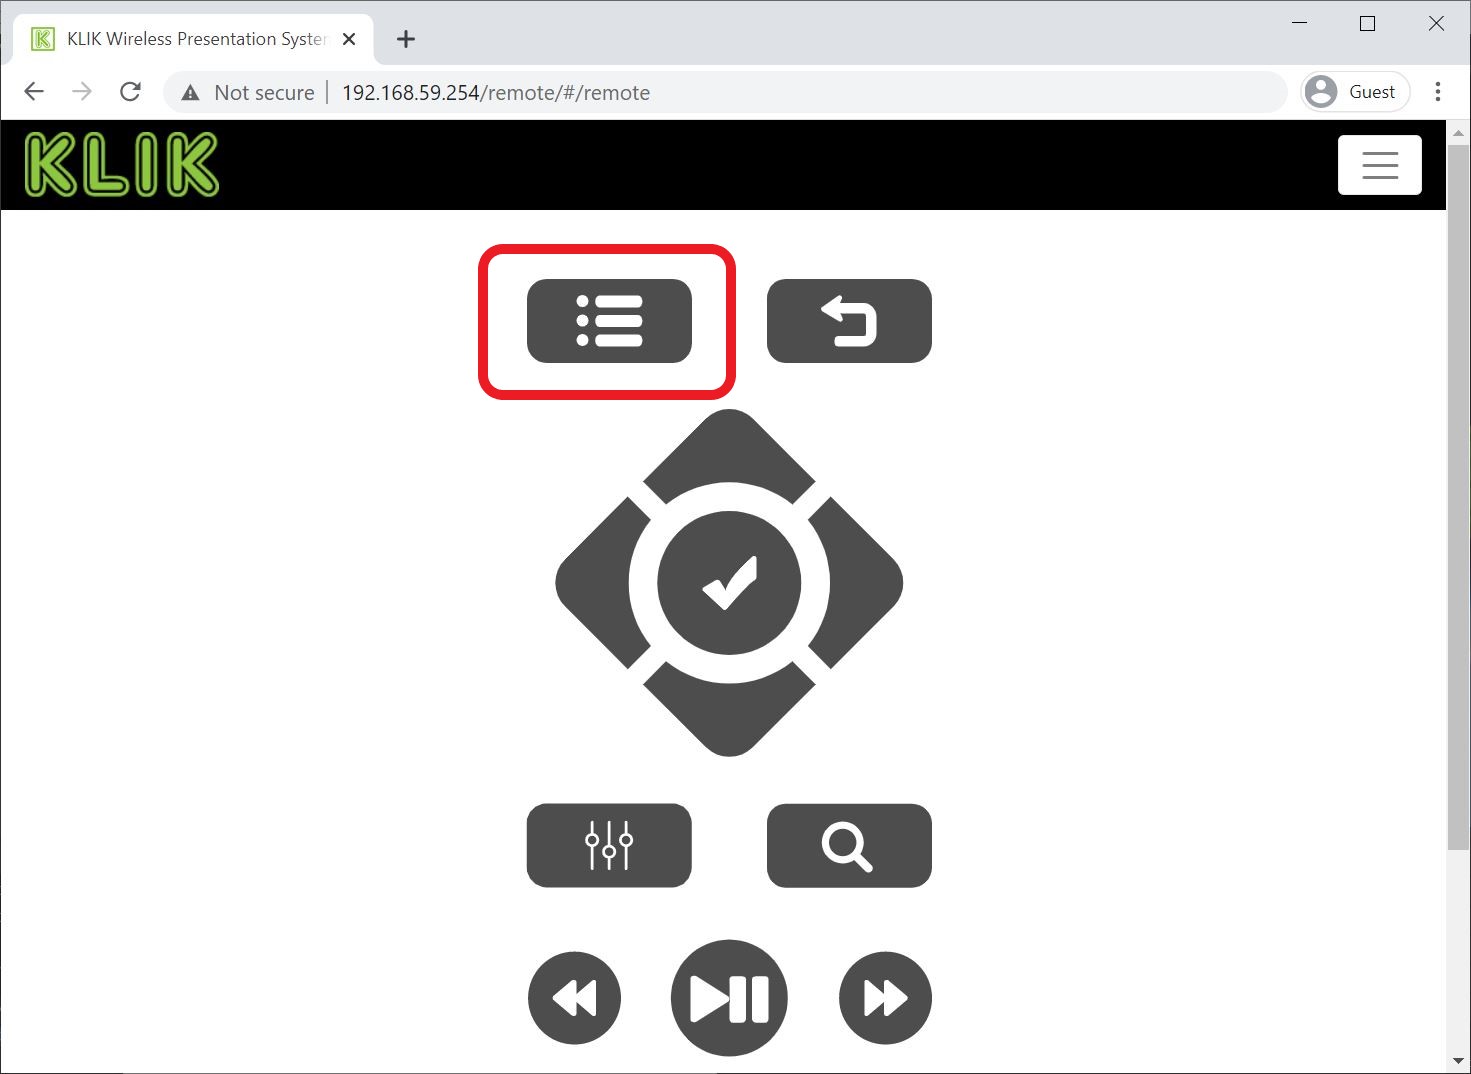
- Note that the OSD will now display the Setup screen and the Network tab will be highlighted.
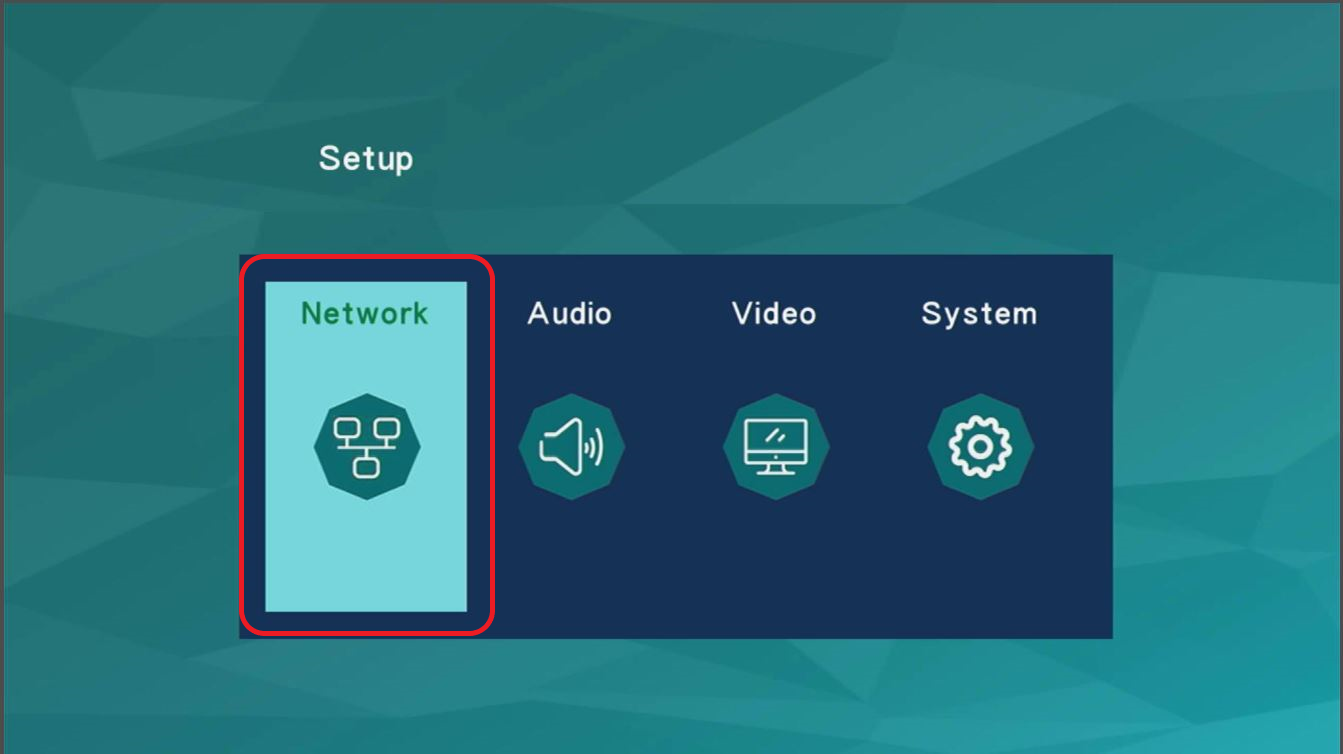
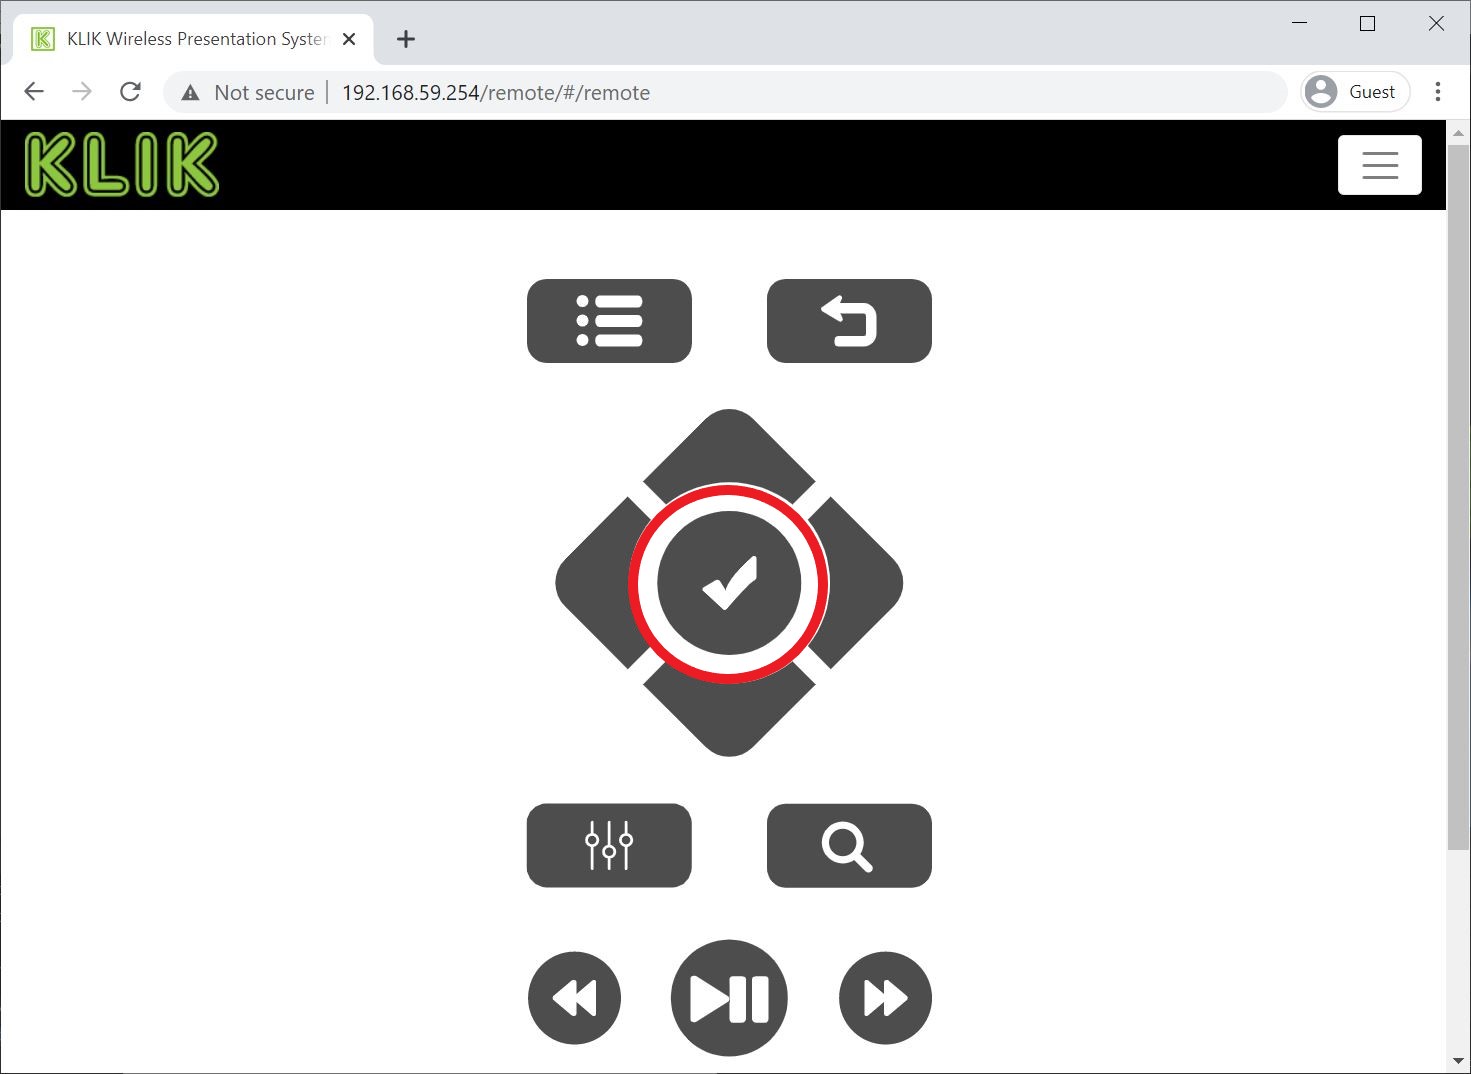
- Use the "Enter" button to select the Network tab.
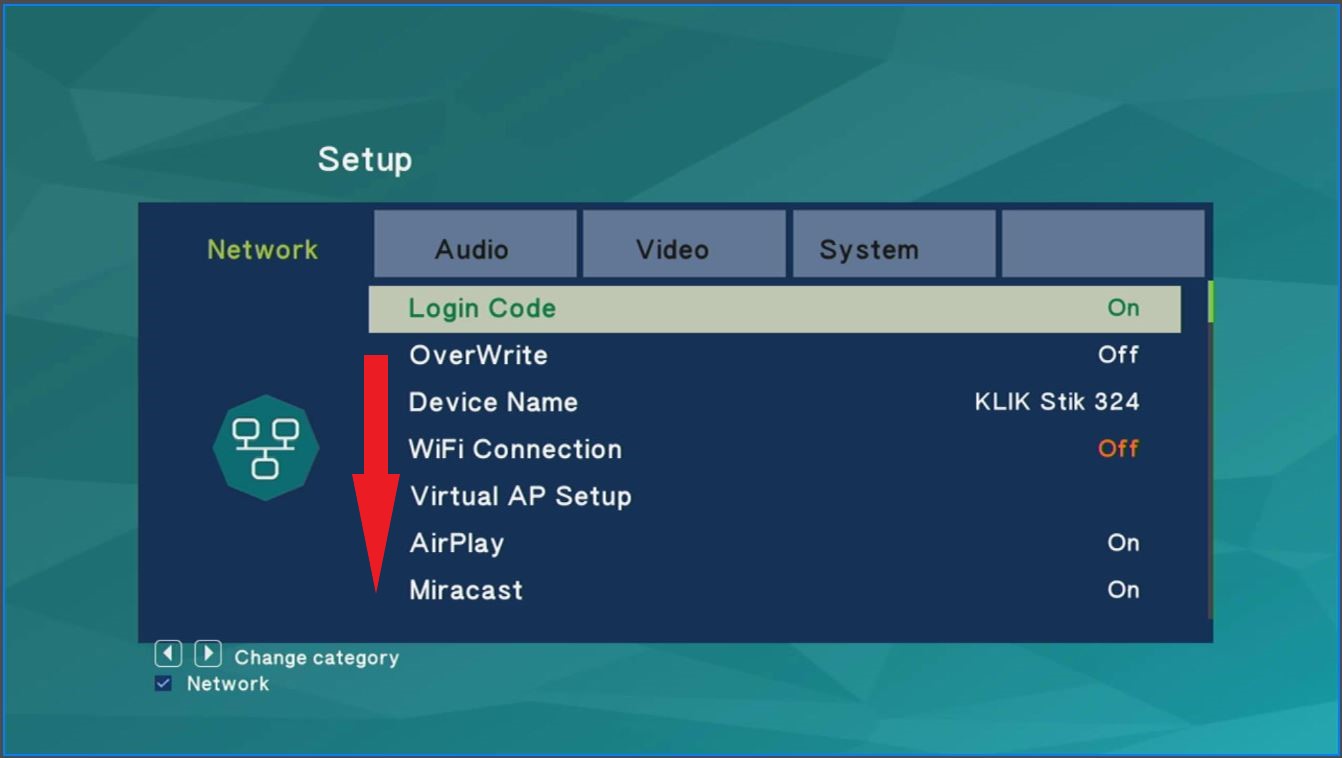
- Once the Network tab is open, scroll down to locate the WiFi HDMI Tx Pairing entry.
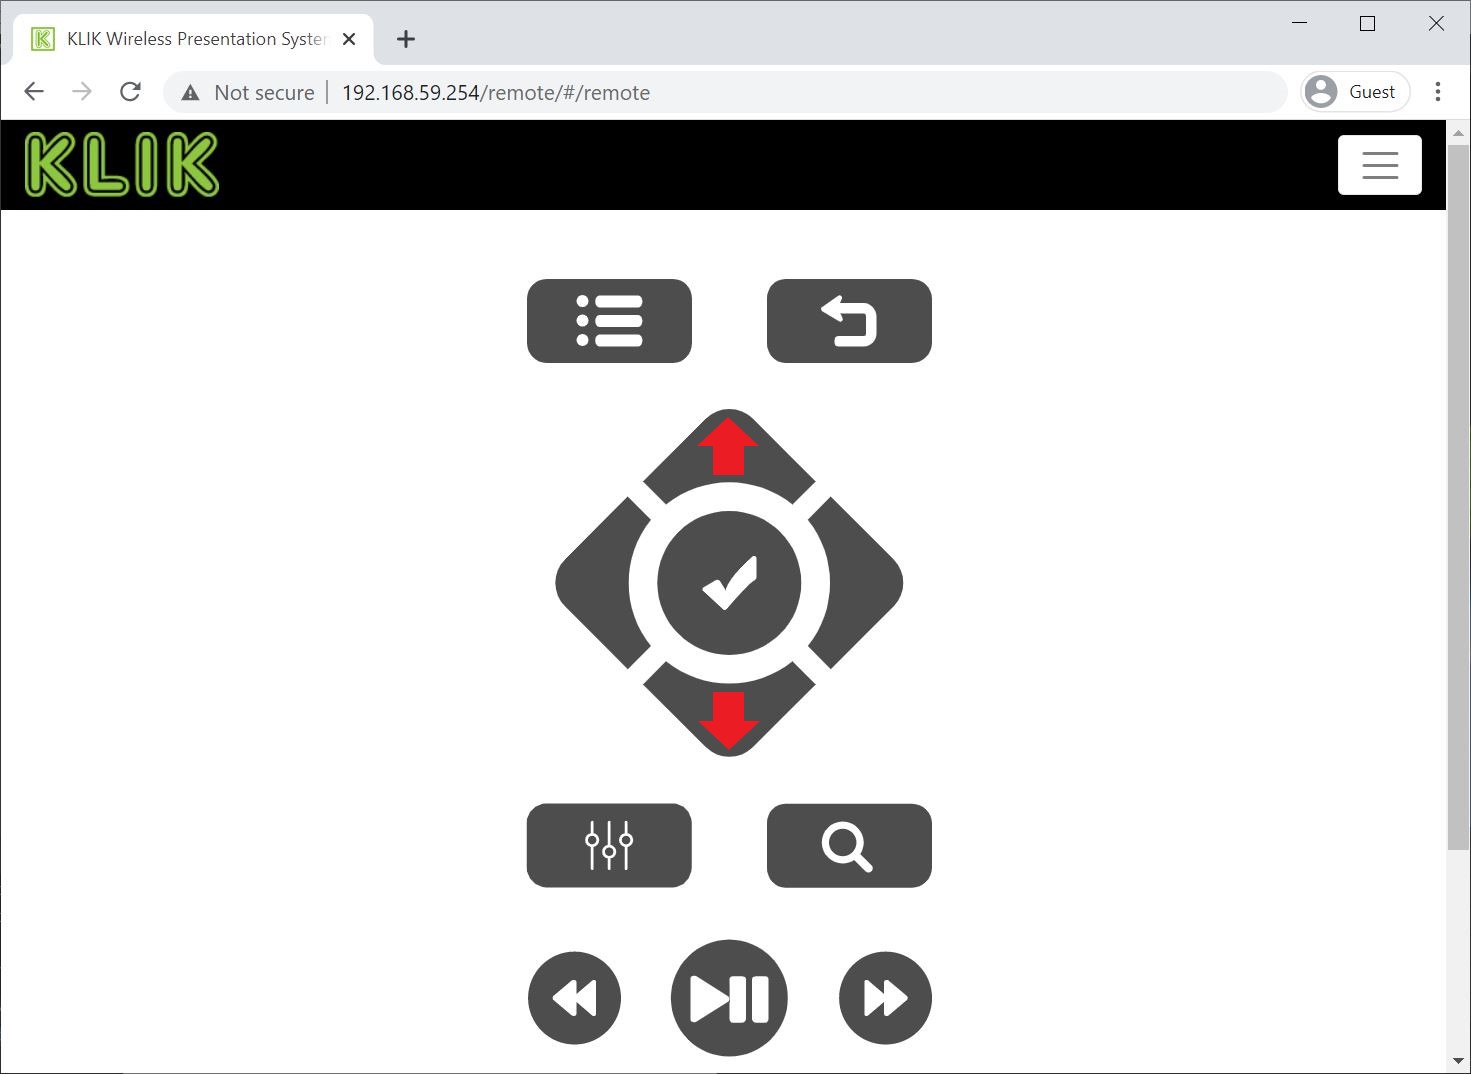
- Use the Up and Down navigation buttons to scroll to the setting.
- Once the WiFi HDMI Tx Pairing entry is highlighted, use the "Enter" button to select it.
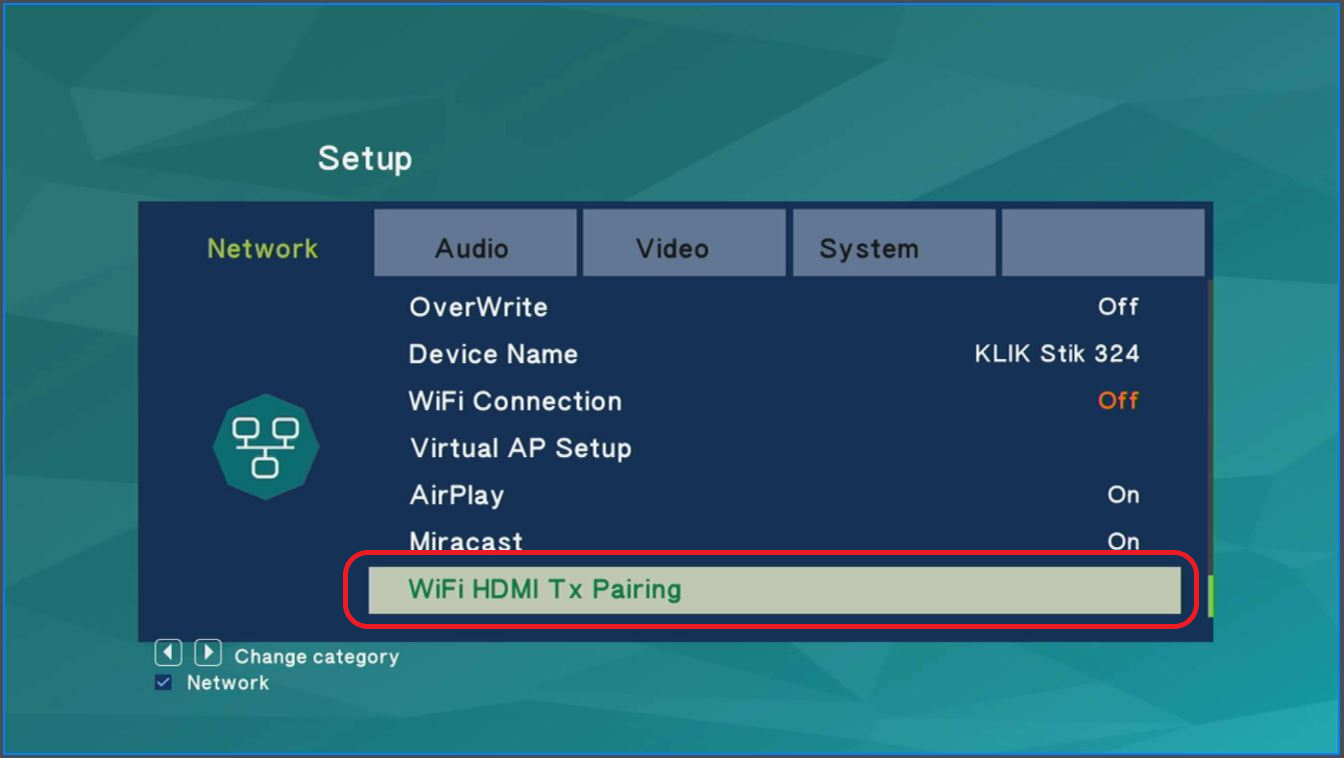
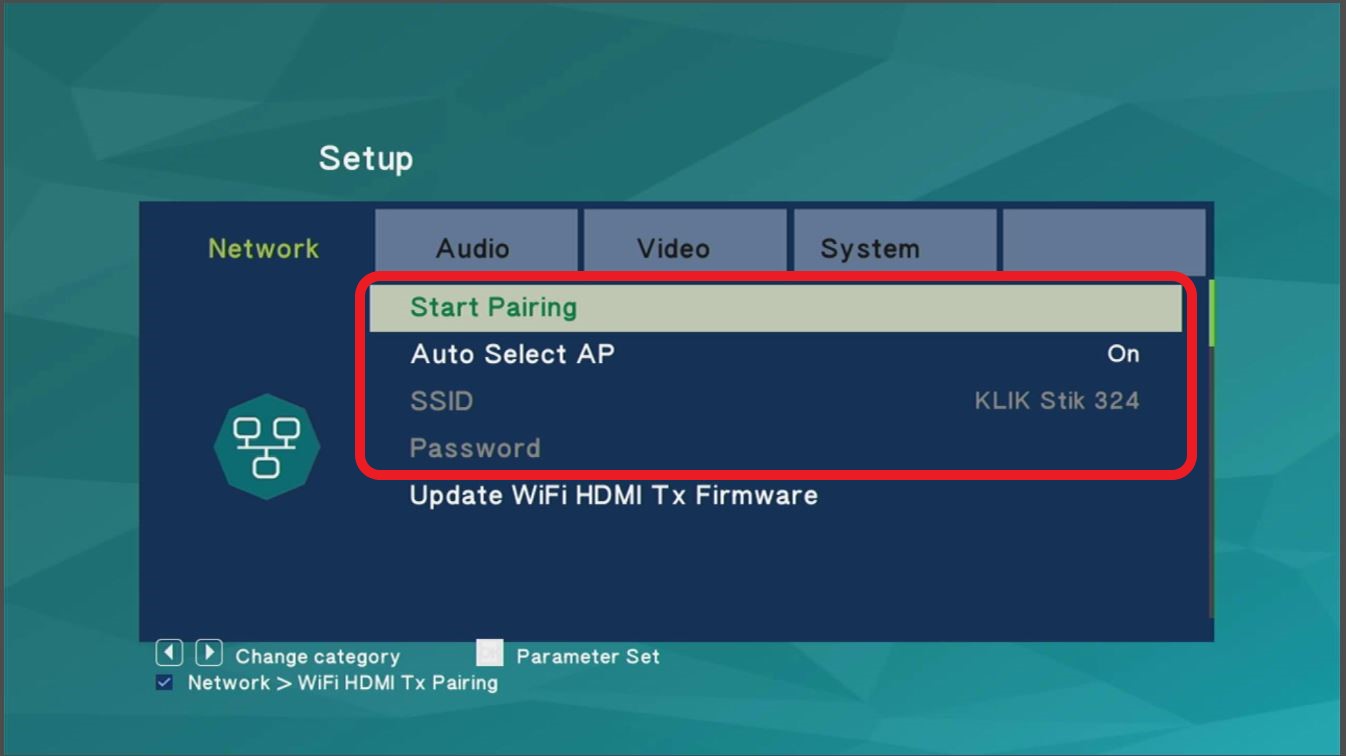
- Prepare the KB400 for pairing as described above, ensuring the White LED is flashing. Then select the WiFi HDMI Tx Pairing entry and review the settings. In most cases, the Auto Select AP setting will be On. This will allow the KLIK to exchange Wi-Fi settings with the KB400. Alternately, the setting may be changed to Off and the connection details may be entered manually.
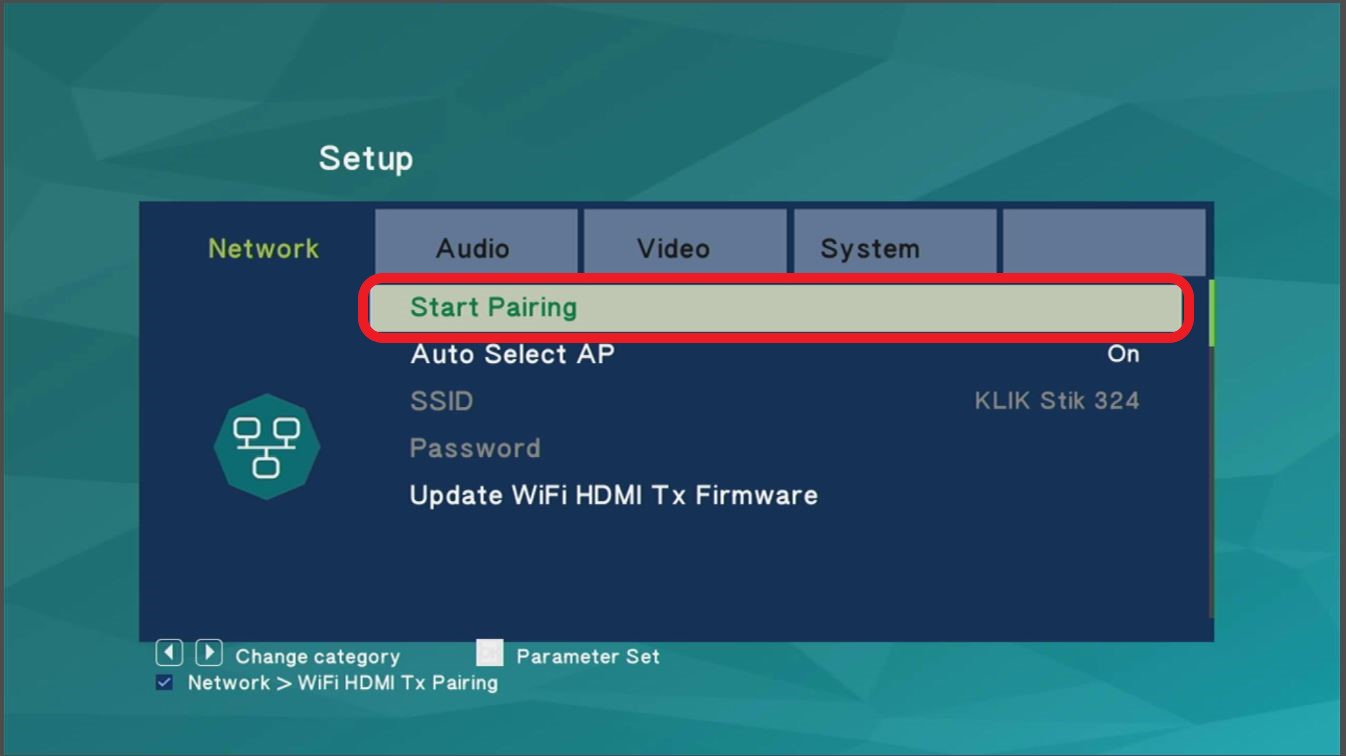
- Select Start Pairing to begin the process.
- The pairing window will open and display pairing status.
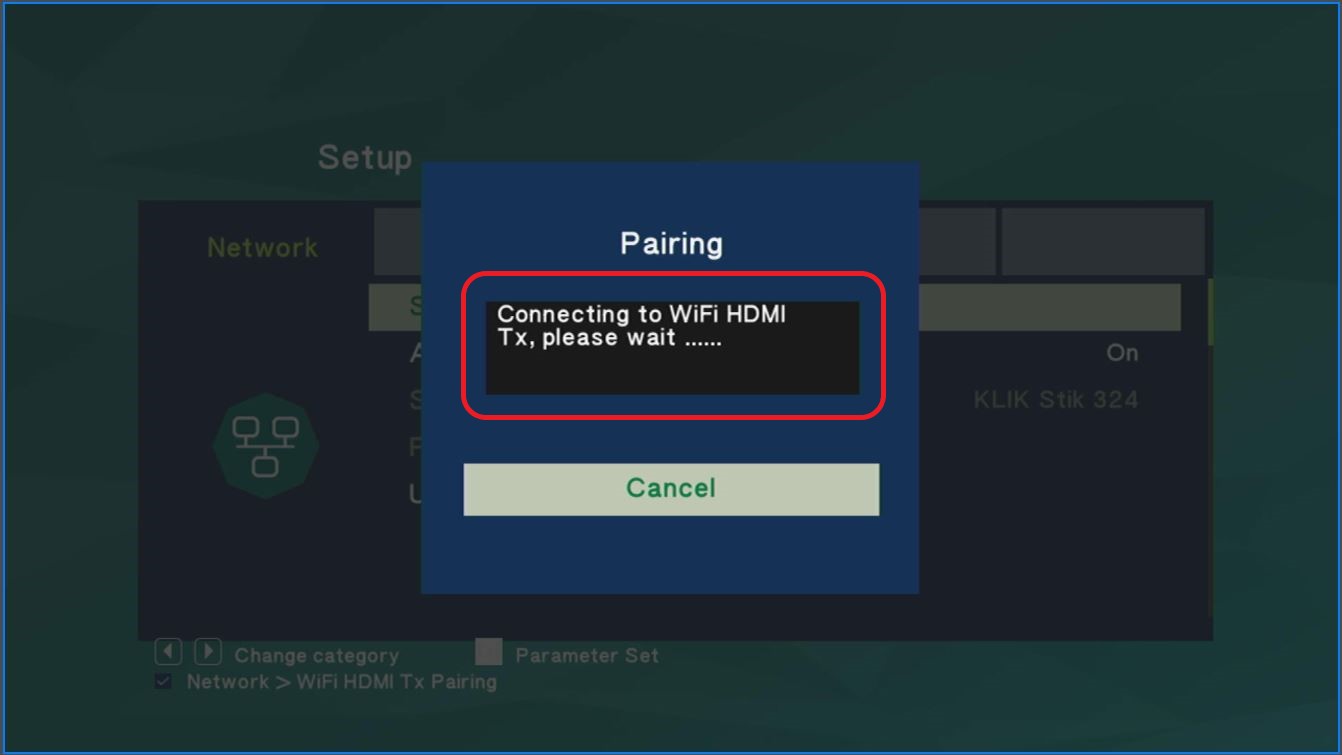
- On successful pairing the OSD will display the success message. If the pairing has failed the WiFi HDMI Tx not found message will be displayed.
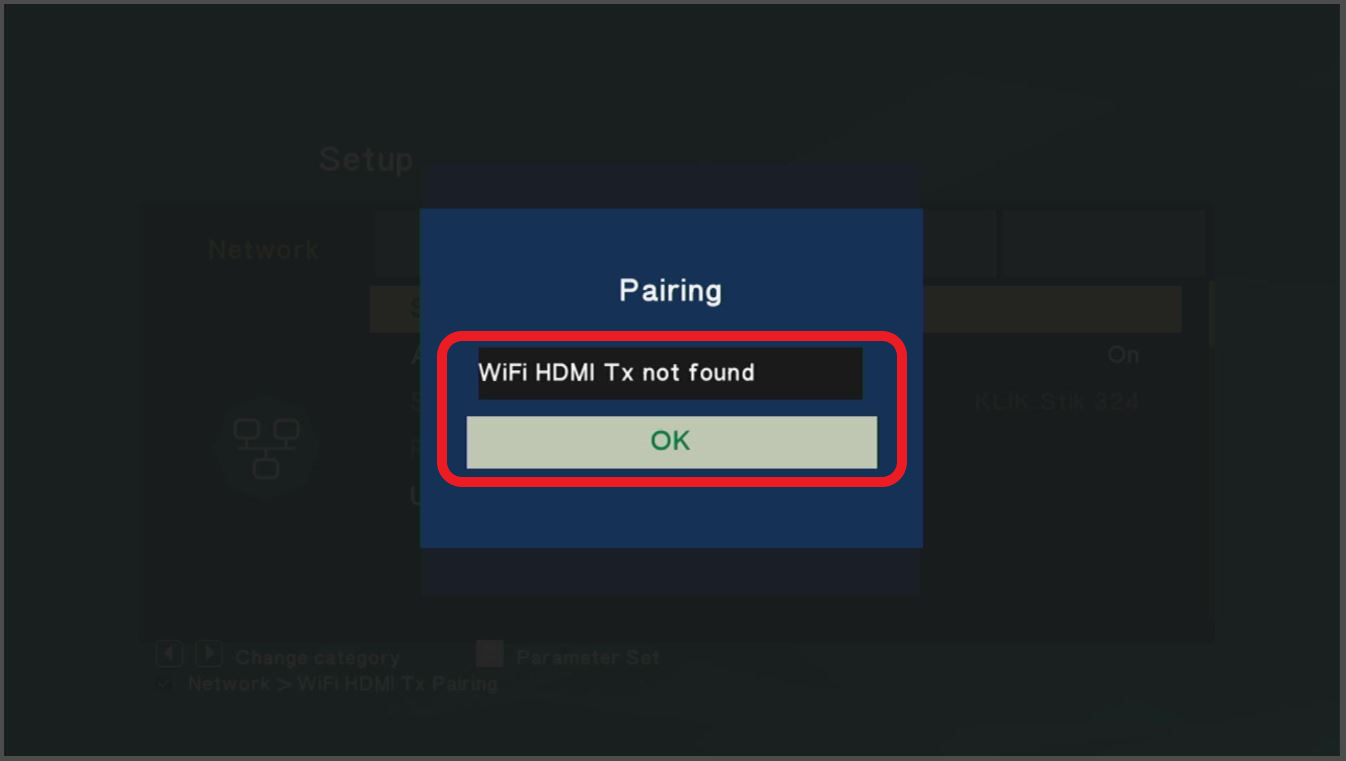
- Troubleshoot common issues causing pairing failure by retracing network connection and configuration of the KLIK device and ensure that the device is connected to the network as shown on the Standby screen. For KLIK devices not connected to a network, ensure that network security is enabled and a suitable password is set.
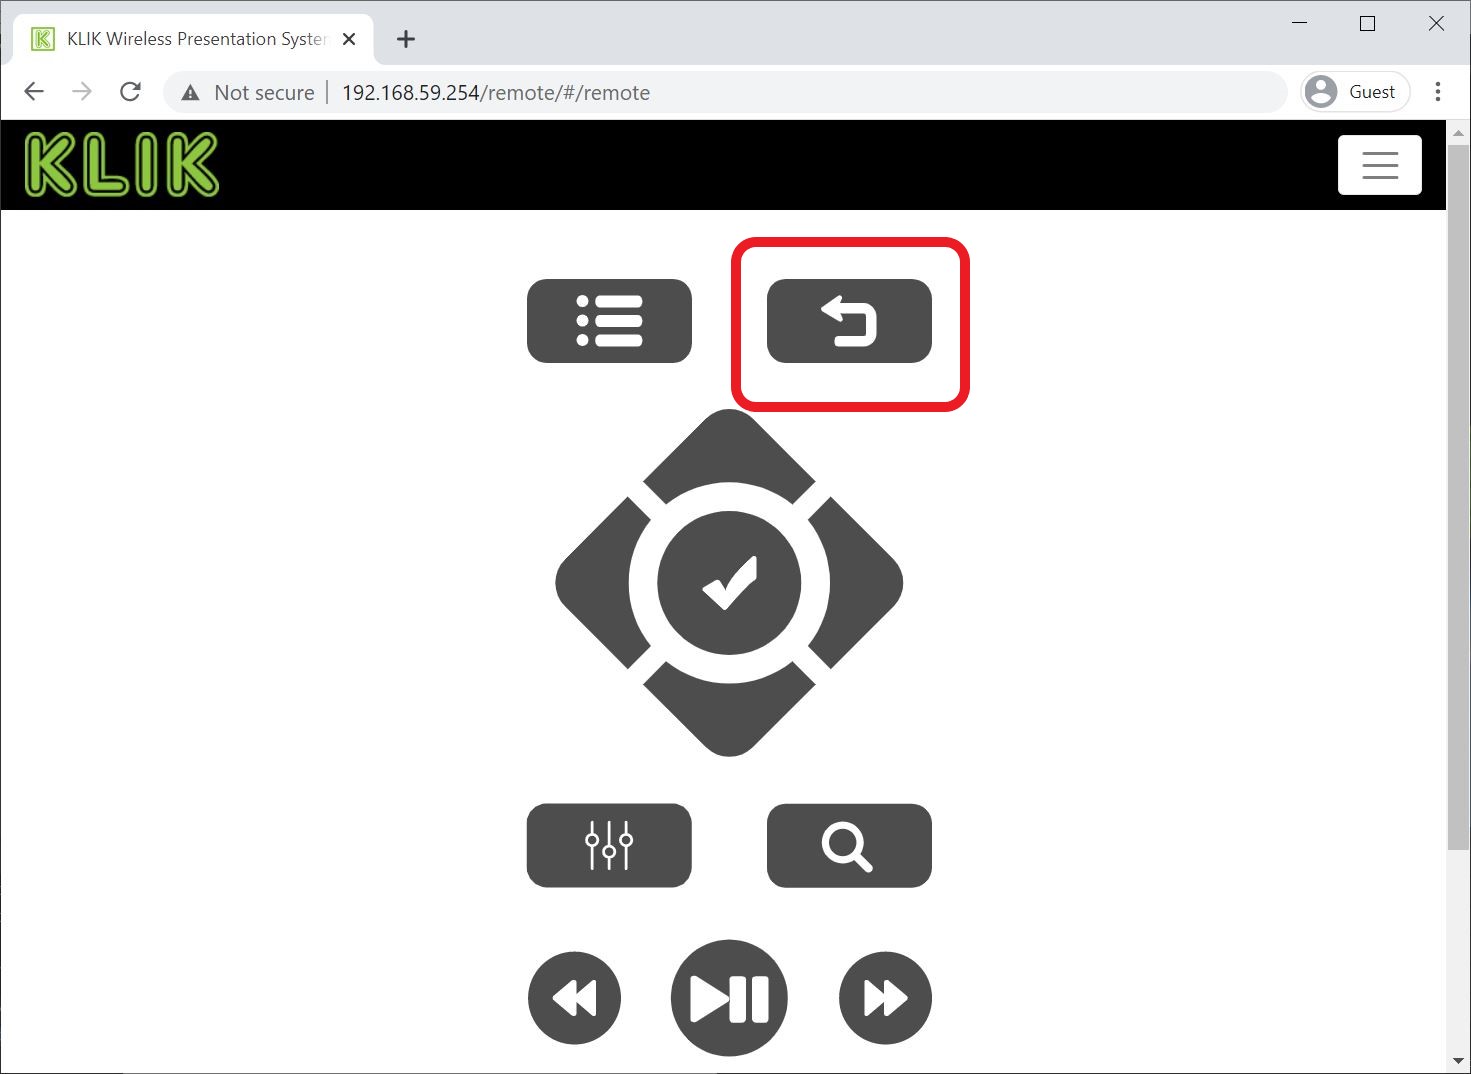
- Once the KB400 is paired, use the Back button to exit the OSD screen.
Operation
Once paired, the KB400 may be used to transmit HDMI content to the KLIK. Follow these steps:
- Connect the KB400 to HDMI and power. The LED ring will flash Green until it finds the KLIK on the network. Once it is found, the LED will stop flashing.
- Press and release the Master button to initiate streaming. The LED ring will change color from Green to Blue when streaming.
- Press the Master button to end the stream. The LED ring returns to Green color.
Settings
The Mode switch allows selection between Presentation and Video modes, to optimize the stream based on content. Presentation mode offers lower latency, at a slower frame rate. Video mode offers a higher frame rate, with greater latency. Switch between modes as needed when the KB400 is in Standby.
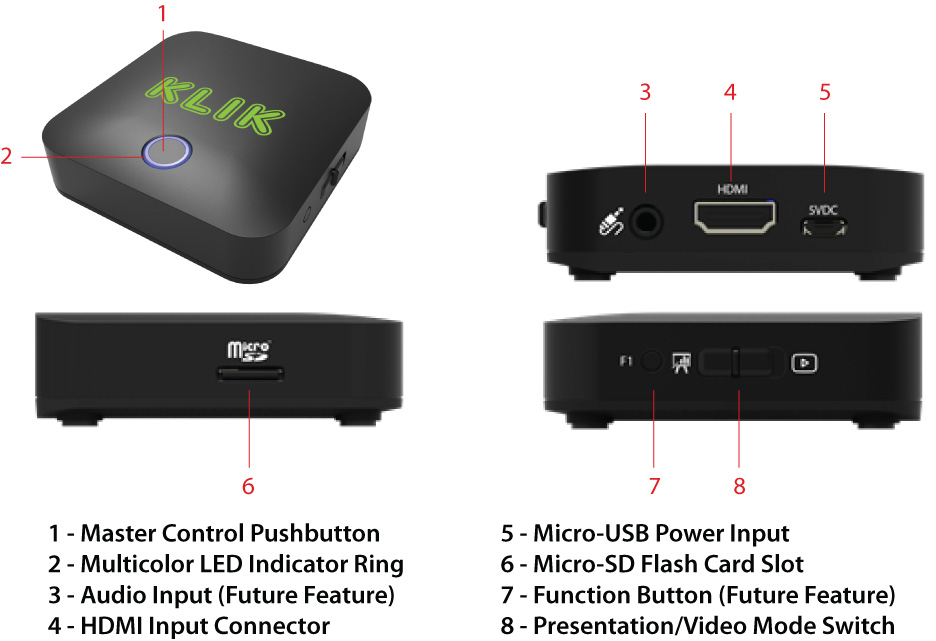
See also KB400 KLIK Knkt Status LED - Colors and Functions for a description of indicator status.

Comments
0 comments
Please sign in to leave a comment.